Affiliate Disclaimer
We sometimes use affiliate links in our content. This won’t cost you anything, but it helps us to keep the site running. Thanks for your support.
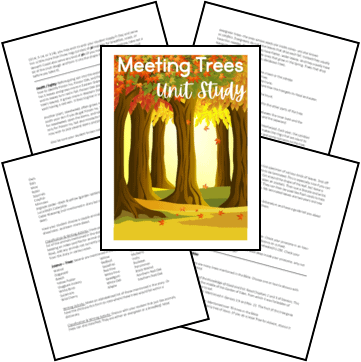
This unit study includes lessons and activities based on the book Meeting Trees by Scott Russell Sanders.
Young Scott and his father have a personal way of learning the trees and remembering their names. It’s a game they like to play, one you’ll want to play too!
Calling all nature-lovers! Meeting Trees is the perfect book to launch your student into learning more about the outdoors.
Grab our free Meeting Trees unit study and learn all about various aspects of nature. Additionally, it includes a variety of lessons for other subjects, too.
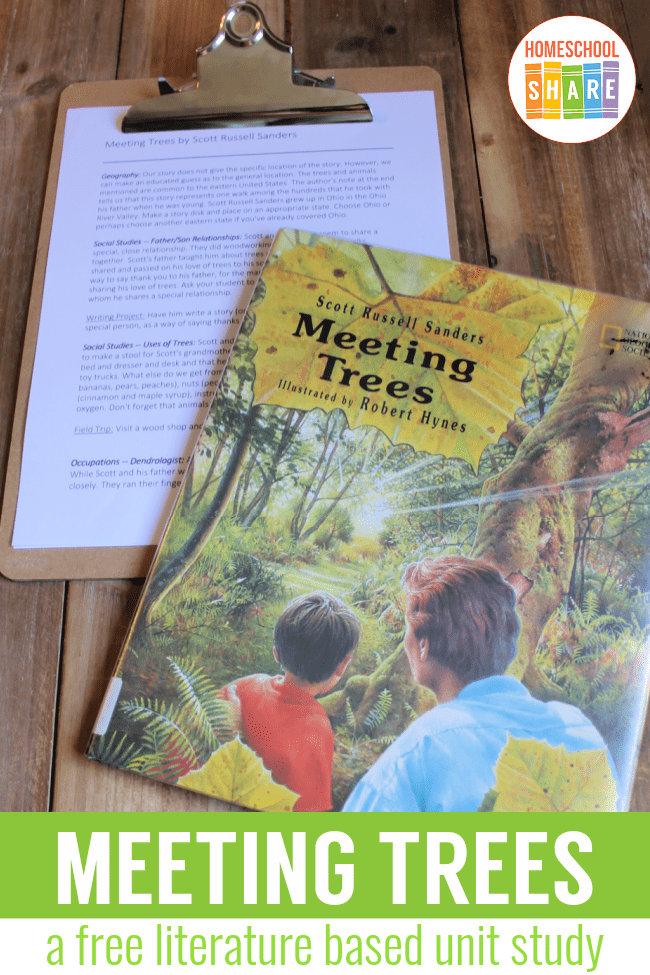
Thanks to Celia Hartmann for preparing this Meeting Trees unit study.
Meeting Trees Unit Study Lessons
Here is a sample of the lessons found in this Meeting Trees unit study:
Social Studies — Uses of Trees: Scott and his father used a board from a walnut tree to make a stool for Scott’s grandmother. Scott mentioned that his father made his bed and dresser and desk and that he also made his tree house and some wooden toy trucks. What else do we get from trees? We get paper, fruit (apples, cherries, bananas, pears, peaches), nuts (pecans, walnuts, almonds), spices and flavorings (cinnamon and maple syrup), instruments (guitars, violins, woodwinds), shade, oxygen. Don’t forget that animals get homes!
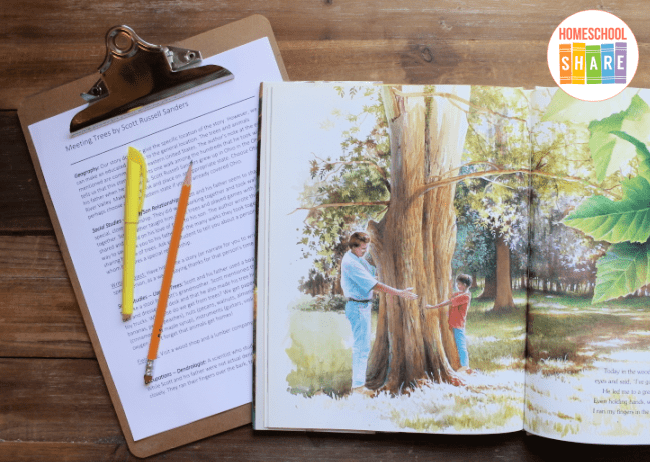
Occupations — Dendrologist: A scientist who studies trees is called a dendrologist. While Scott and his father were not actual dendrologists, they did study trees very closely. They ran their fingers over the bark, traced the outline of the leaves, studied the nuts and fruits of the trees, etc. By doing so, Scott and his father learned a great deal about trees. They knew trees the same way they knew friends–“by their character, their shapes and habits, by where and how they lived. All of that knowledge added up to love.” (From the author’s note at the end.) Tell your student he is going to be a Junior Dendrologist this week.
Language Arts — Word Choice: Mr. Sanders uses words like “birds twittering, squirrels chattering, and wind whooshing” …. “minnows flickering.” The author’s choice of words really helps us visualize the scenes. Stories would be very boring if we did not use strong words. Think about which sounds better: the words the Mr. Sanders used or “birds singing, squirrels making noise, and wind blowing.” Which word choices help you visualize it? Help your child understand that there are different ways of saying the same thing, and that some ways are better, stronger, more precise.
Art — Bark & Leaf Rubbings: Remove the paper from a couple of crayons (maybe brown for the bark and green or fall colors for the leaves). Gather several sheets of plain white paper (printer/copy paper works great). Have your student hold the paper onto a tree and gently rub the crayon (lengthwise) over the left side of the paper. An impression of the bark will come through. Next take a leaf from the same tree and lay it under the right side of the same sheet of paper and do a leaf rubbing in the same manner. Write the name of the tree on the paper with its rubbings. When possible, have the student include the similes used in the story. Repeat with several trees–each on a separate sheet of paper. Punch the papers, make a pretty cover, and tie yarn to hold it together to make a pretty tree book.
To access all of the lessons in this Meeting Trees unit study, grab an easy-to-print file at the end of this post.
Printables Included in This Unit Study
The following printables have been included in this study to help your student learn more about oak trees. Some will work better for younger students while other printables are more detailed for older students.
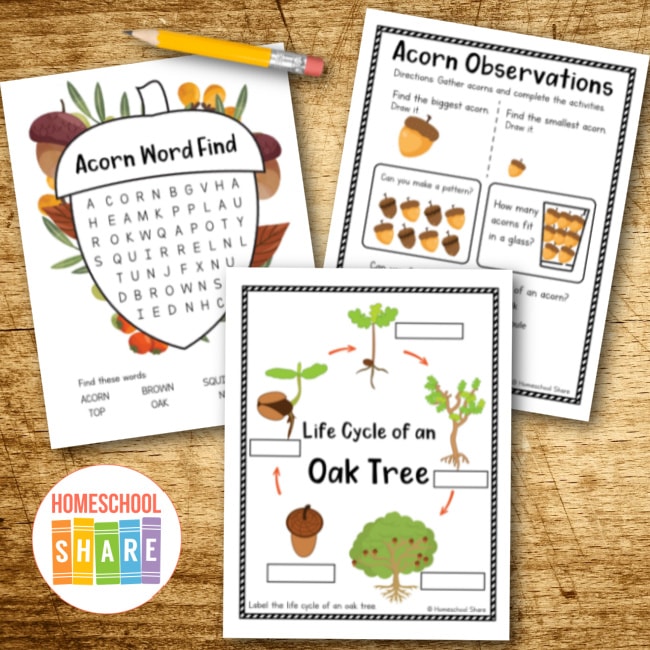
- Life Cycle of an Oak Tree Model & Life Cycle of an Oak Tree Activity Page
- Acorn Observations Activity Page (gather acorns and have fun with this activity page)
- Acorn Word Find
- Acorn Anatomy Diagram (includes a model and a page for your student to diagram)
- Oak Tree Seedling Diagram
If you are looking for more printables to learn about trees, try our Trees Lapbook.
How to Get Started with the Meeting Trees Unit Study
Follow these simple instructions to get started with the Meeting Trees unit study:
- Buy a copy of the book, Meeting Trees, or borrow one from your local library.
- Print the Meeting Trees unit study.
- Choose the lessons you want to use with your student (a highlighter works great for this).
- Enjoy a week of book-based learning with your student.
Download Your Meeting Trees Unit Study
Simply click on the image below to grab the free Meeting Trees unit study.
More Nature Based Resources