Affiliate Disclaimer
We sometimes use affiliate links in our content. This won’t cost you anything, but it helps us to keep the site running. Thanks for your support.
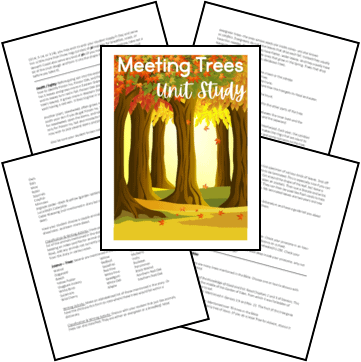
A unit study on leaves? Why not? I love trees, and leaves are fascinating. If you live in a place where you experience all four seasons, you know that the beauty of fall is a wonder experienced by children and adults alike.
You can use this unit study with any books about leaves, but Wende and I chose these three when we wrote the unit study:
Leaf Man by Lois Ehlert
Red Leaf, Yellow Leaf by Lois Ehlert
Fun With Nature by Mel Boring (or another tree/leaf guide)
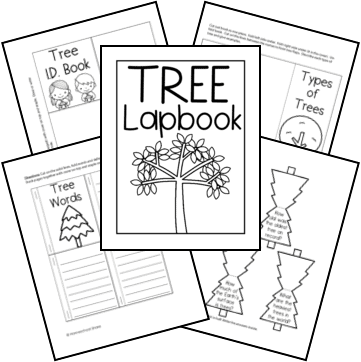
The unit study includes printables, too. If you want, you can put them together for a Leaves Lapbook.
Leaves Unit Study Lessons
Here are a few sample lessons from the Leaves unit study:
Leaf Collection and Identification
Go outside with a leaf ID guide in hand and see how many different trees you can identify (use their leaves to identify them). You may want to keep your leaves and make a collection (include common names as well as scientific names). If you don’t want to store leaves, you can make a leaf rubbing of each leaf and then add the names for the leaf. Another idea would be to take photos of your leaves and paste them into your book after you print your pictures.
Leaf Arrangement
Most leaves have a broad, flat part called a blade. A simple leaf is a leaf that has only one blade attached to the petiole. A compound leaf has two or more blades attached to the petiole. (Diagrams are included in the unit study.)
Leaf Margins
The shape of the edge or margin of a leaf is another way it can be identified. Margin is the term used to describe the edge of the leaf; there are three basic kinds of leaf margins:
- smooth – having a smooth edge with neither teeth nor lobes.
- lobed – divided into rounded or pointed sections and the incisions (cuts) go less than halfway to the midrib.
- toothed – having small, pointy teeth that point toward the tip of the leaf.
To access all of the lessons in this Leaves unit study, subscribe to Homeschool Share’s email list using the form in this post.
Leaves Unit Study Printable Activities
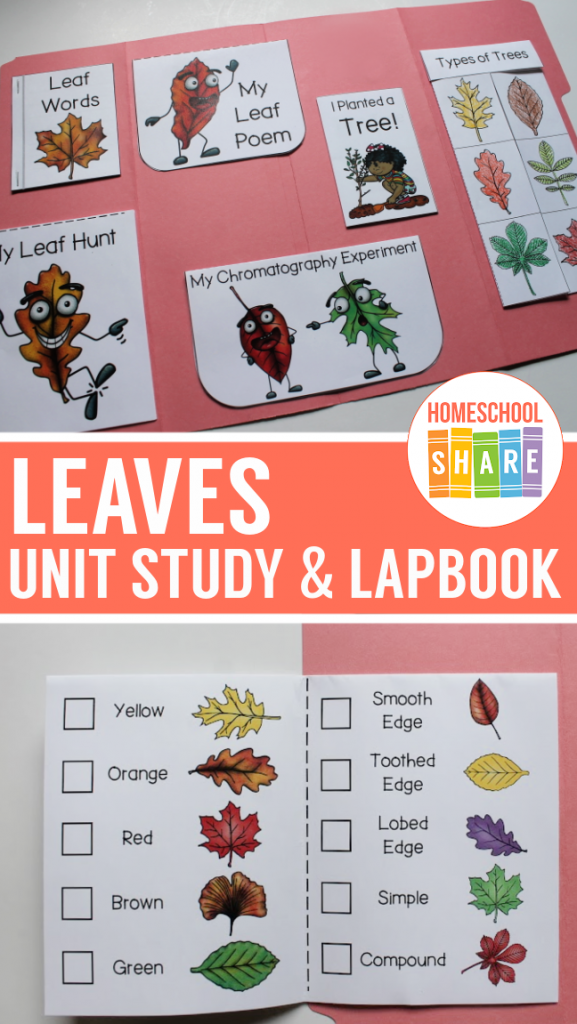
This Leaves unit study includes a variety of printables; you can use the mini-books to put together a Leaves Lapbook.
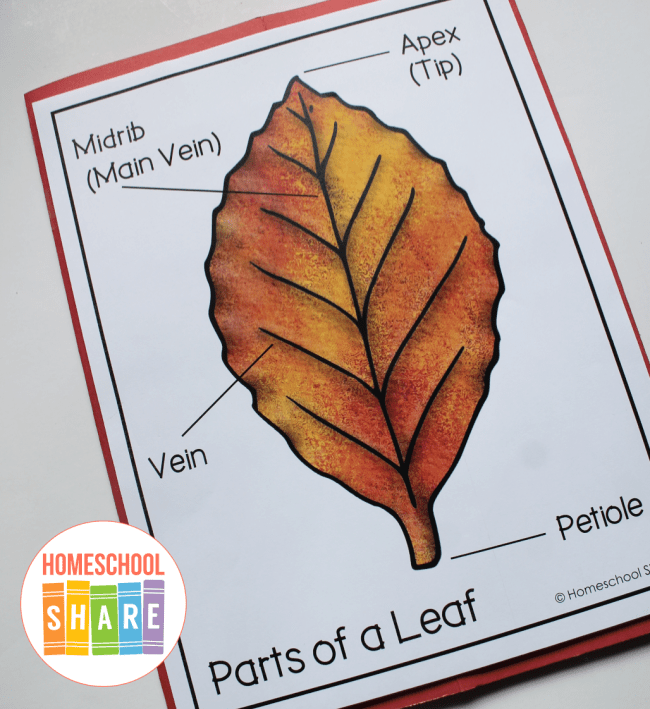
- Label a Leaf Activity Page
- My Leaf Hunt Mini-book
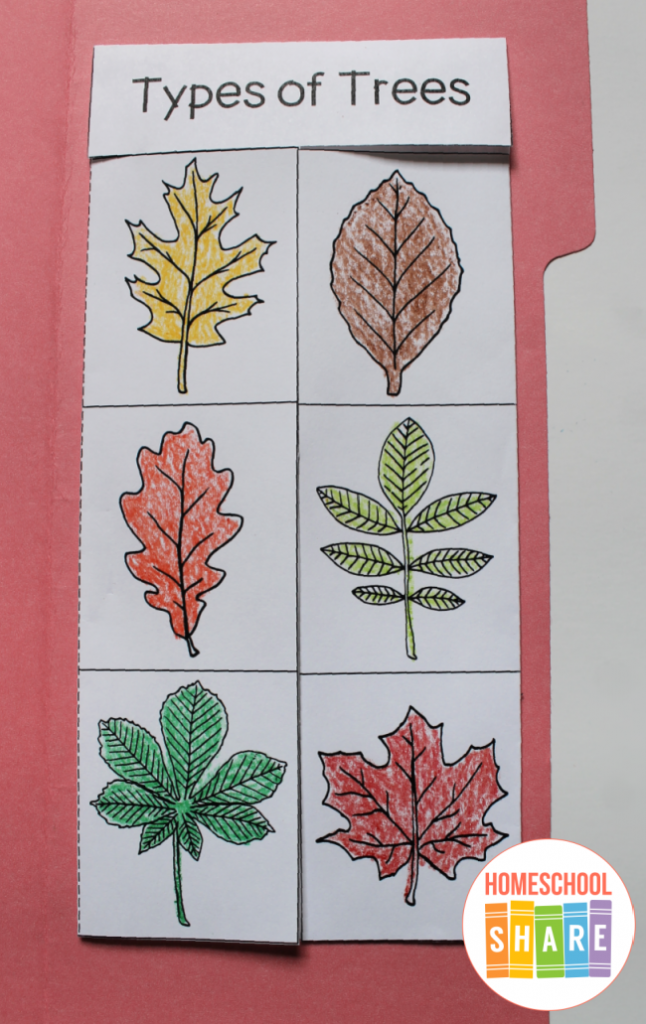
- Types of Trees Shutterflap Book
- My Chromatography Experiment Simple Fold
- I Planted a Tree! Flap Book
- Leaf Words Mini-book
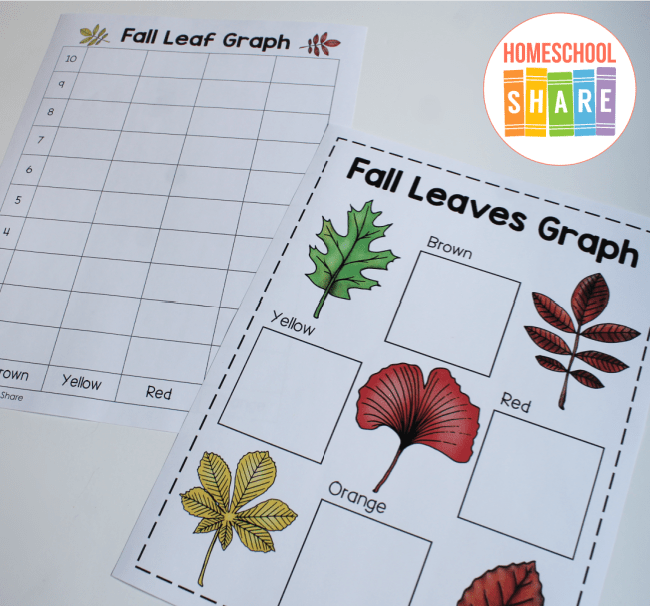
- Fall Leaves Tally & Graph Activity
- My Leaf Poem Mini-book
Leaves Lapbook Sample
Here is a sample of the lapbook. It was made with just one file folder.
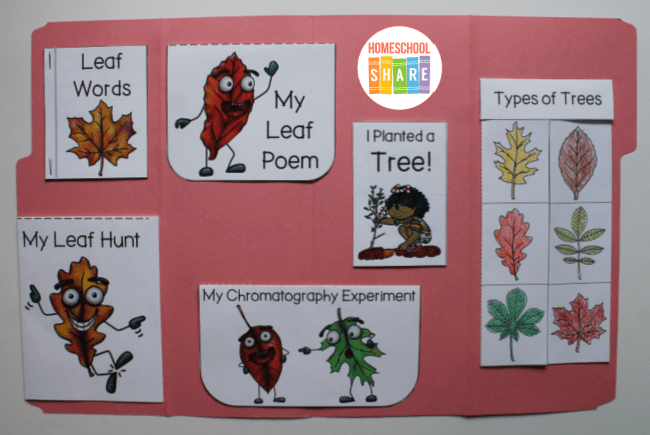
The leaf diagram was added to the back cover.
How to Get Started with the Leaves Unit Study
Follow these simple instructions to get started with the Leaves unit study.
- Buy a copy of the books used for this study, or borrow them from your local library. Books include: Leaf Man by Lois Ehlert, Red Leaf, Yellow Leaf by Lois Ehlert, and Fun With Nature by Mel Boring (or another tree/leaf guide).
- Print the Leaves unit study.
- Choose the lessons you want to use with your student (a highlighter works great for this).
- Choose and prepare the Leaf unit study printables you want to use with your student.
- Enjoy a week of learning about leaves and trees.
Download Your Leaves Unit Study and Printables
Use the form below to subscribe to the newsletter. Once you confirm, you’ll receive an email with the link to the study and printables. If you are already confirmed, simply enter your name and email address below, and you will receive an email with the link.
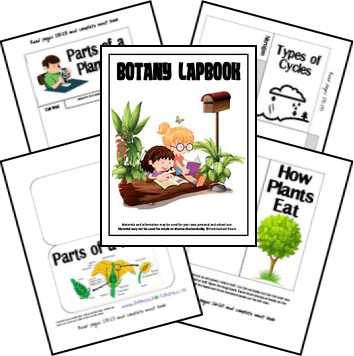
More Resources for Trees
Are you hoping to find more resources for learning about trees? You are in the right place!