Affiliate Disclaimer
We sometimes use affiliate links in our content. This won’t cost you anything, but it helps us to keep the site running. Thanks for your support.
Children are fascinated with these ginormous creatures that lived long ago. What did they eat? Where did they live? What happened to them? Let your student discover various possibilities with our free Dinosaurs Lapbook study.
Note: This is a creation based dinosaur study. If you do not share this worldview, there are still some pieces you can use for your own dinosaur study such as graphing sizes, the world map, and the dinosaur report forms.
Dinosaurs Lapbook Lessons
Here are some sample lessons from the Dinosaurs Lapbook:
Geography: Dinosaur World Map
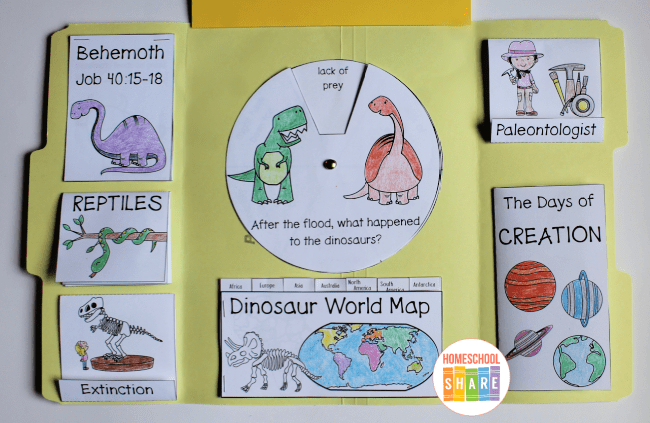
Where have dinosaur bones been found? All over the world! Review the seven continents on your map and/or globe. The World Map mini-book will help your student learn about a small sampling of dinosaurs and where their fossils have been found.
Science: Animal Classification
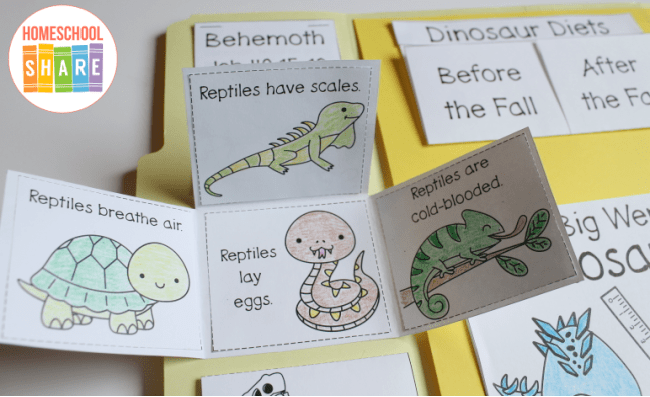
The book mentions that the word dinosaur means “terrible lizard.”
Discuss lizards with your student. If your student has already done some work in animal classification, discuss reptiles in detail since dinosaurs fit in this classification. Reptile characteristics include:
- cold-blooded
- most reptile species are oviparous (lay eggs)
- thick-skinned with scales or modified scales
- breathe air
Bible: Behemoth
Read Job 40:15-24 together. Help your student think of the descriptions of the Behemoth (or write them down as you encounter them in your reading). Read over your list and think of what an amazing creature this must have been!
Art: Dino-rama (Dinosaur Diorama)
Let your student create a dinorama! Make a dinosaur scene using a shoe box and various craft materials you have around the house. Material Ideas:
- Shoe Box
- Construction Paper
- Patterns of dinosaurs (or dinosaur stickers)
- Play-doh or clay
- Twigs (for trees)
- Glue, Tape
- Markers, Crayons, etc.
- Scissors
- Aluminum Foil (for water)
- Small Rocks or Sand
- Glitter (for lava if your student wants to make a volcano)
- Pipe Cleaners
To access all of the lessons in this Dinosaurs Lapbook, subscribe to Homeschool Share’s email list using the form in this post.
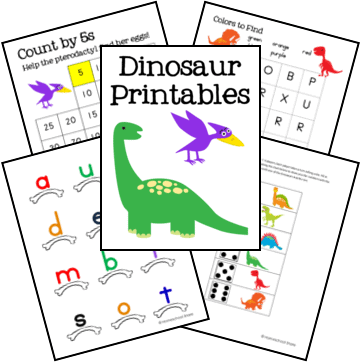
Dinosaurs Lapbook Printables
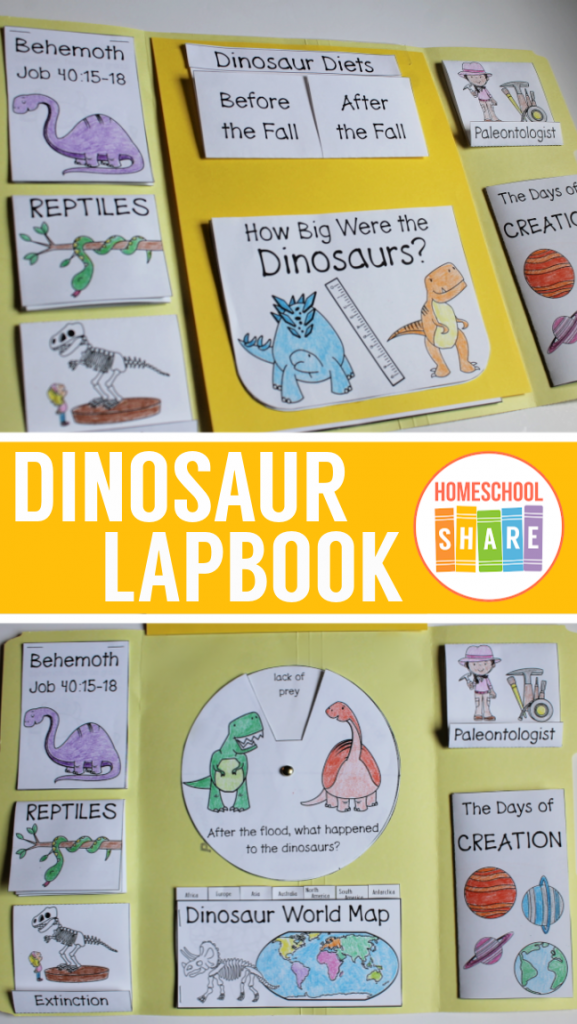
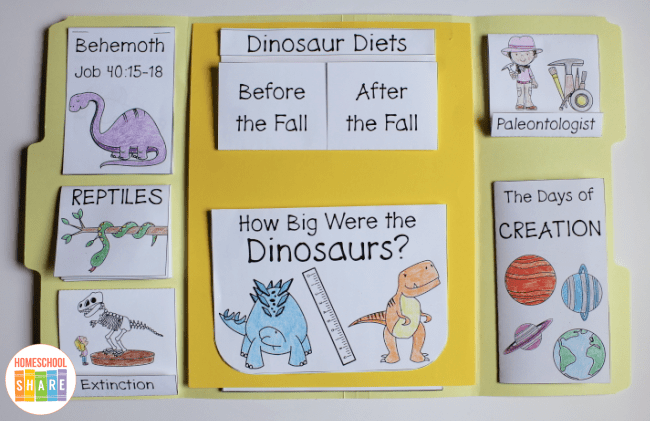
In addition to the research lessons, the file includes these mini-books for your student to create a Dinosaurs Lapbook:
- Dinosaur Diets (Before and After the Fall) Flap Book
- Paleontologist Matchbook
- Dinosaur Matchbook
- Favorite Fact Matchbook
- Extinction Matchbook
- Reptiles T-book
- What Happened to the Dinosaurs? Wheel (includes various possibilities)
- Dinosaur Sizes Graph Simple Fold Book
- The Days of Creation Flap Book
- Behemoth Mini-book
- Dinosaur World Map Tab Book
- Different Dinosaurs Cards & Pocket
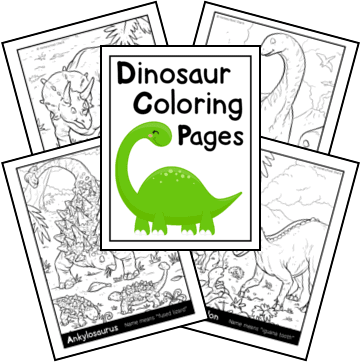
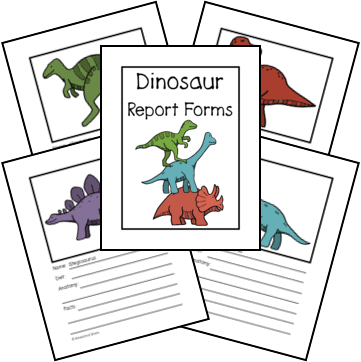
Please note: The lessons refer to Dinosaur Coloring Pages and Dinosaur Report Forms. You can find those here:
Dinosaur Books Needed for This Unit Study
This study was written to be used with these books:
- What Really Happened to the Dinosaurs? by John D. Morris (required book)
- Bones, Bones, Bones by Byron Barton (optional book; can sub with a different book about paleontology)
- Dinosaurumpus! by Tony Mittion (option book)
- Edwina the Dinosaur Who Didn’t Know She Was Extinct by Mo Willems (optional book)
- If the Dinosaurs Came Back by Bernard Most (optional book)
- Raising Dragons by Jerdine Nolen (optional book)
If you cannot find these books, try to substitute with whatever you can find.
Lapbook Example
You can use as many or as few of the mini-books as you like. Here is a Dinosaurs Lapbook example using one file folder and one extension (a piece of cardstock taped to the middle section).
How to Get Started with Your Lapbook
Follow these simple instructions to get started with the Dinosaurs Lapbook.
- If you want, go to your local library and check out additional books about dinosaurs.
- Print the Dinosaurs Lapbook.
- Prepare the mini-books you want to use with your student.
- Enjoy a week of reading and learning all about dinosaurs!
Get Your Free Dinosaurs Lapbook
Use the form below to subscribe to the newsletter. Once you confirm, you’ll receive an email with the link to the lapbook. If you are already confirmed, simply enter your name and email address below, and you will receive an email with the link.
Explore More Dinosaur Resources